
Last Updated: May 23, 2025
Get ready to crack the code on one of your biggest sales weapons: Amazon listing images.
Are your Amazon product listings getting the attention they deserve? With millions of competitors lurking around, it’s easy for your listings to get buried.
It could be that you’re not effectively using one of the most powerful tools at your disposal—your listing images. High-quality, optimized images grab customer attention faster than a lightning deal, drawing window shoppers in and convincing them to hit “add to cart”.
Want to know how to make your images work for you? Keep reading this guide where we’ll discuss everything you need to know about Amazon listing images, from image stacks to best practices so you can make your product stand out.
Table of Contents
What Is an Image Stack?
Imagine your Amazon product page is like a shelf in a store, and your product is the star of the show. To make it shine, you need great visuals, just like attractive packaging helps sell items on a shelf.
An image stack on Amazon refers to all the images associated with your product listing. This stack is made up of your main image and any additional images you upload to showcase your product from different angles, in use, or with detailed features.
The image stack appears on your product’s listing page, typically on the left side, where customers can scroll through and view your product images before making a purchasing decision.

Types of Amazon Listing Images
Within your Amazon image stack, you’ll find several types of listing images, each serving a unique purpose. These images help buyers understand your product, visualize how it fits into their lives, and, most importantly, convince them to purchase.
Each image type plays a key role in showcasing your product’s features, quality, and benefits, and when combined, they create a comprehensive visual story for potential customers.
Main Image
The main image, also known as the hero image, is the first photo buyers see in Amazon search results and on your product listing page. This image plays a key role in grabbing the attention of potential customers.
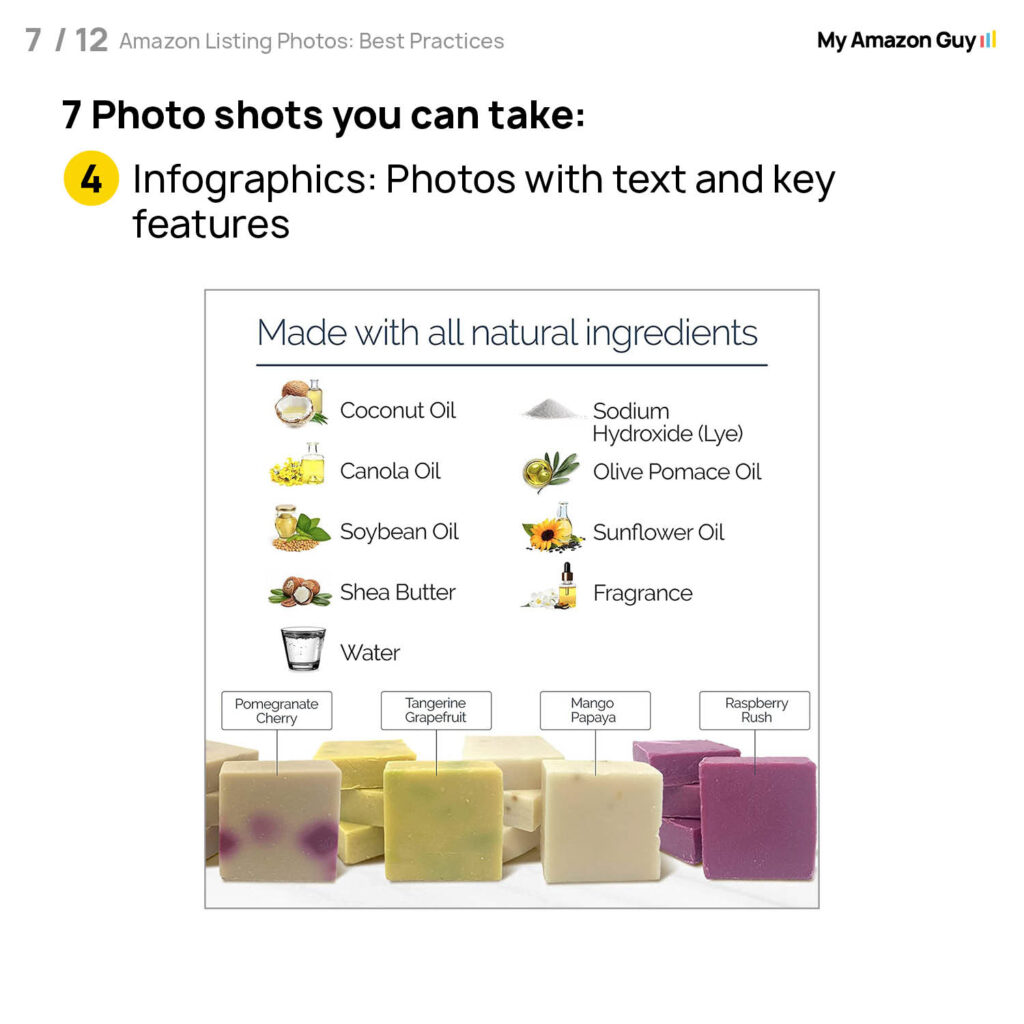
Infographics
For products with different features or benefits, an infographic offers a strategic solution. This data visualization translates complex information into clear, concise charts, icons, and graphics, making key product details readily apparent to potential buyers.
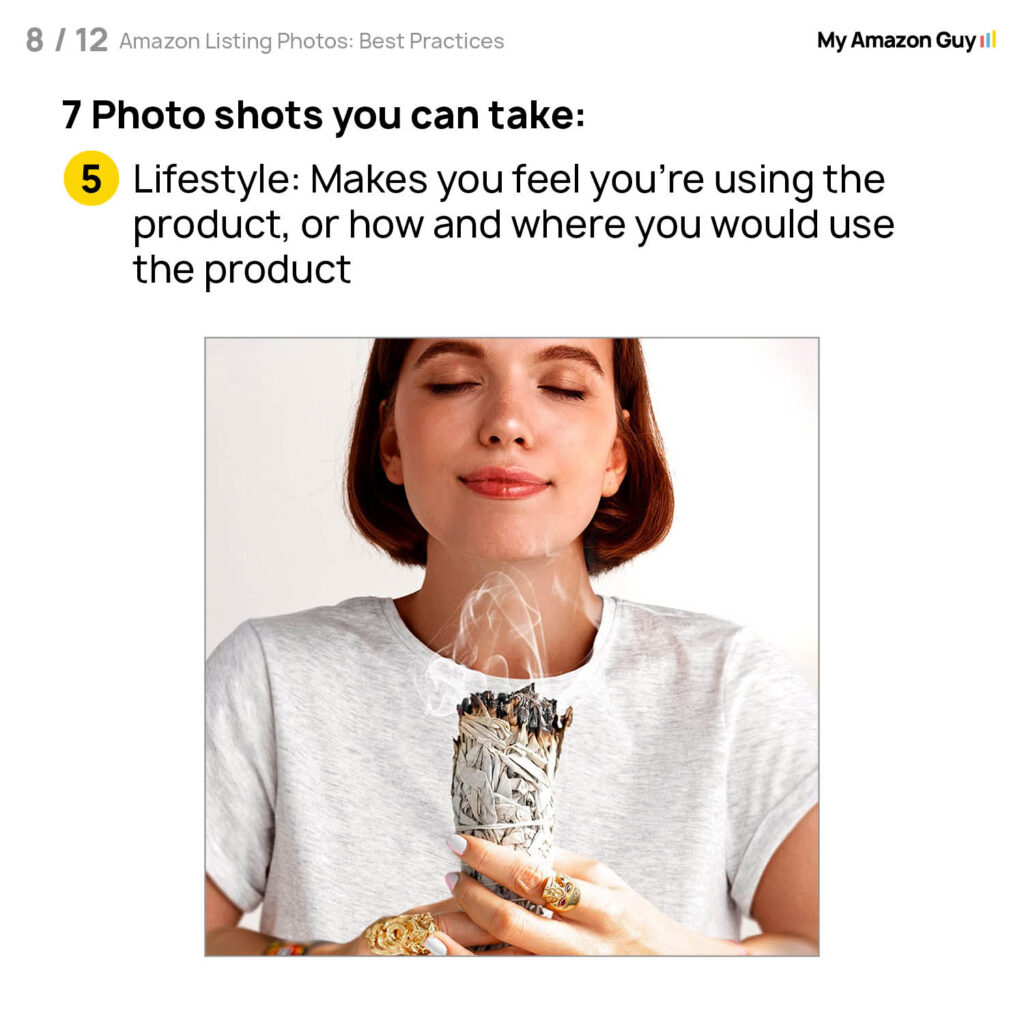
Lifestyle Images
Lifestyle images show the product in use within real-life scenarios. These photos help customers visualize how the product fits into their own lives, often showing it in action or paired with complementary items in relevant settings.
Feature Images
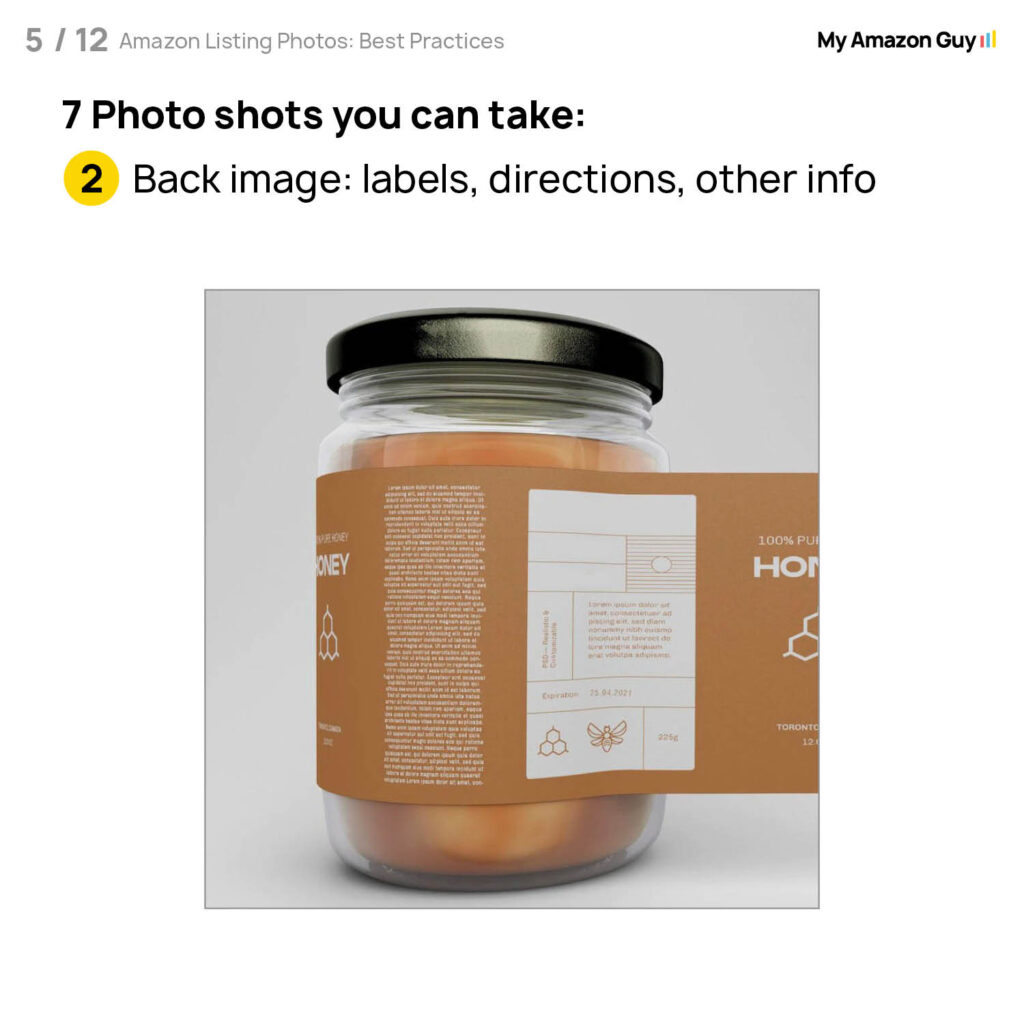
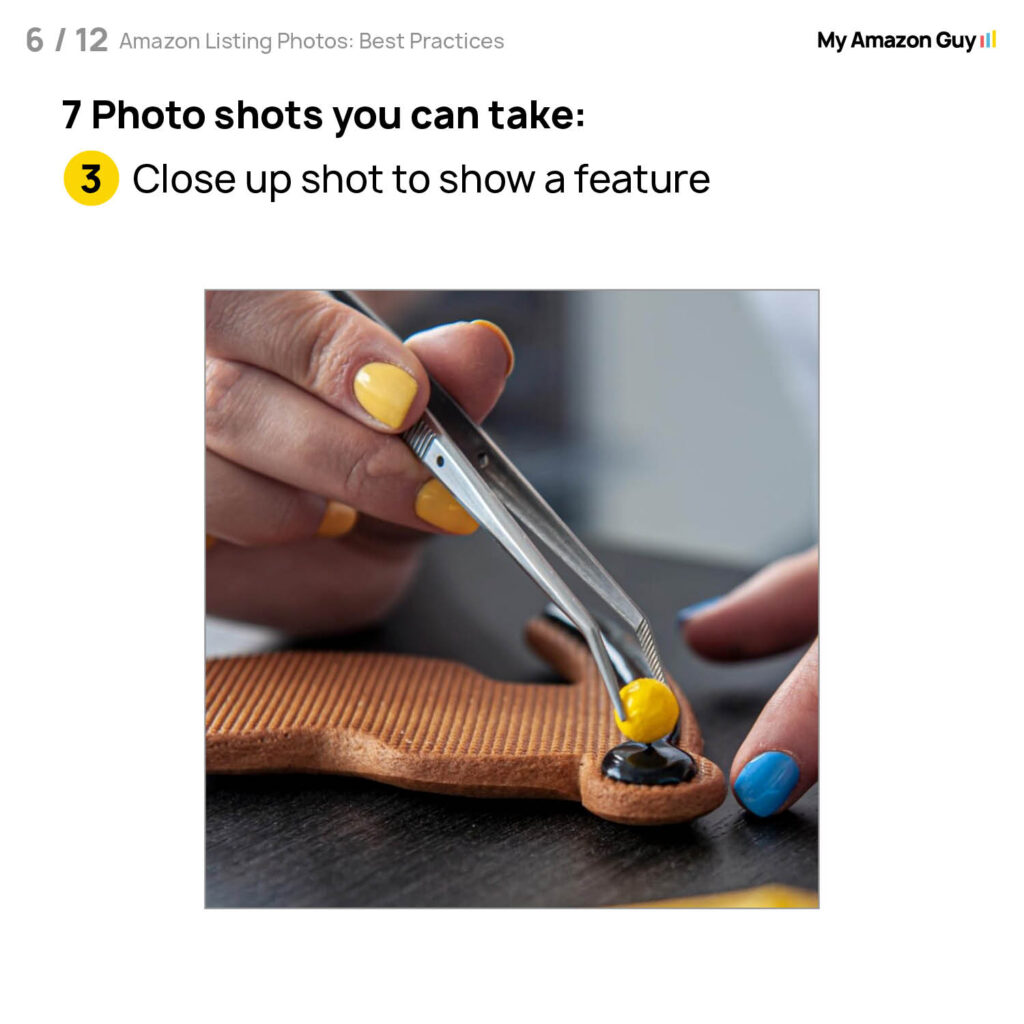
Feature images provide close-up shots of the product to highlight its key features or unique aspects. These zoomed-in images allow buyers to examine the finer details that might not be apparent in the main image, such as texture, materials, or functionality.

How to Add and Edit Listing Images in Seller Central
Now that you’re familiar with the different types of listing images, you might want to go ahead and add or edit them in your product listings on Seller Central. The process is straightforward and easy to follow, as long as you stick to a step-by-step guide.
Here are the steps to help you update your product images based on Seller Central’s UI as of 02/09/2025:
Step 1: Access Your Product Listing
Go to the side menu and click Inventory > Manage All Inventory.

Find the product you wish to modify, click the three dots linear to the listing, and select Manage Images.

Step 2: Edit the Main Image
The prominent image displayed at the top is your main image. Here’s how to edit the image:
- In the Images section, scroll down until you see the tiles or slots for the listing images.
- The first tile or slot is designated for the main image.
- Click the Upload button for the main image
- Select the new image you wish to use, ensuring it adheres to Amazon’s image guidelines for optimal presentation.

Step 3: Add Additional Images
To enhance your listing’s information and visual appeal, consider including infographics, lifestyle images, and feature images.
Here’s how to add them:
- Click the Upload button for each of the tiles or slots within the Images section.
- Select the extra photos you wish to incorporate, ensuring they adhere to Amazon’s image specifications for size and format.
Tip: Use 8 images (total number of available image slots) to showcase your product from every angle. In some instances, a product listing may have more than 8 image tiles or slots.
Step 4: Rearrange Image Order
The order in which your images appear can significantly impact how shoppers perceive your product. To rearrange the image sequence:
- Click and hold the desired image.
- Drag and drop the image to its preferred position within the sequence.
Step 5: Delete Images (if necessary)
Should you wish to remove an image, hover over the undesired image and click the trash can icon adjacent to it. However, it’s important to note that the main image cannot be deleted.
Step 6: Wait for the Changes
Following your edits, there might be a slight delay before the changes appear on your live listing. Amazon requires time to process image updates, but rest assured that your revised listing will be live shortly.
However, if after some time your image is still not showing, try this tutorial on how to fix images on Amazon.
How to Arrange the Amazon Image Stack
Properly arranging your image stack is crucial because a well-structured order makes it easier for shoppers to understand your product at a glance. By strategically placing different types of images, you can highlight key features, benefits, and use cases effectively.
Here’s the image stack arrangement our Amazon agency follows:
- Main Image
The main image must be the first in the stack. It should be a clear, high-quality photo of the product on a plain white background. - Feature Image
This image provides a close-up view of the product’s key selling points, allowing buyers to see important details that set it apart. - Infographic
Infographics help explain the product’s functionality and benefits in a visually appealing way, making complex details easy to understand. - Lifestyle Image
Finally, lifestyle images show the product in use, helping customers visualize how it fits into their daily lives and creating an emotional connection.
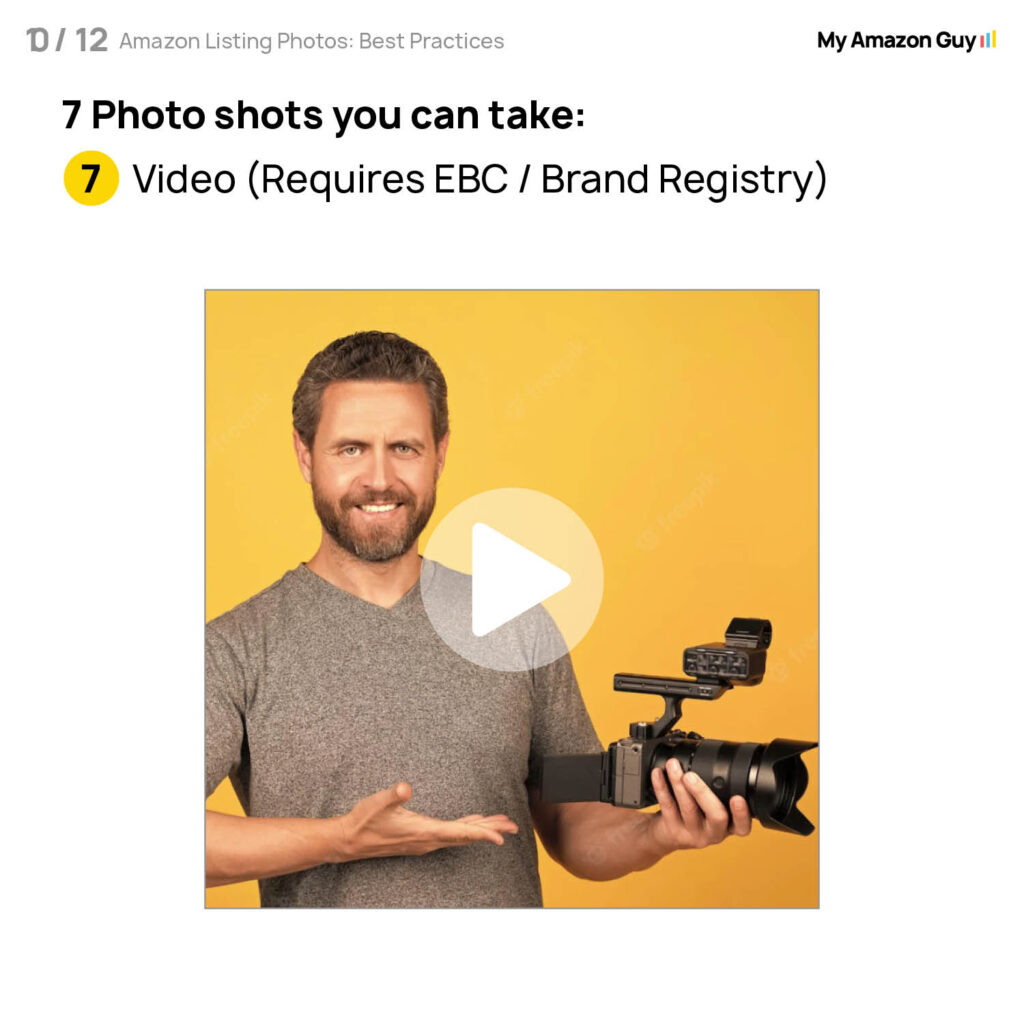
Still confused about how you should arrange your image stack? Watch my master class video:
Important Amazon Product Image Requirements
Just like any other e-commerce platform, Amazon has strict image requirements that Amazon sellers must follow. Adhering to these guidelines ensures that your product listings remain active and compliant.
Failure to follow Amazon’s policies can result in listing suppression and hidden penalties. So, take note of the product image requirements below:
Image Standards
- Every product listing must have at least one clear, high-quality image that accurately represents the product.
- Images should be well-lit, properly framed, and free of unnecessary text, logos, or watermarks (unless strategically used).
- Amazon reserves the right to reject images that don’t meet its quality standards.
Main Image Requirements
- The background must be pure white (RGB values: 255,255,255) to blend seamlessly with Amazon’s platform.
- The main image must not be a graphic, or illustration, or contain accessories not included in the purchase.
- No props, additional text, watermarks, or logos are allowed.
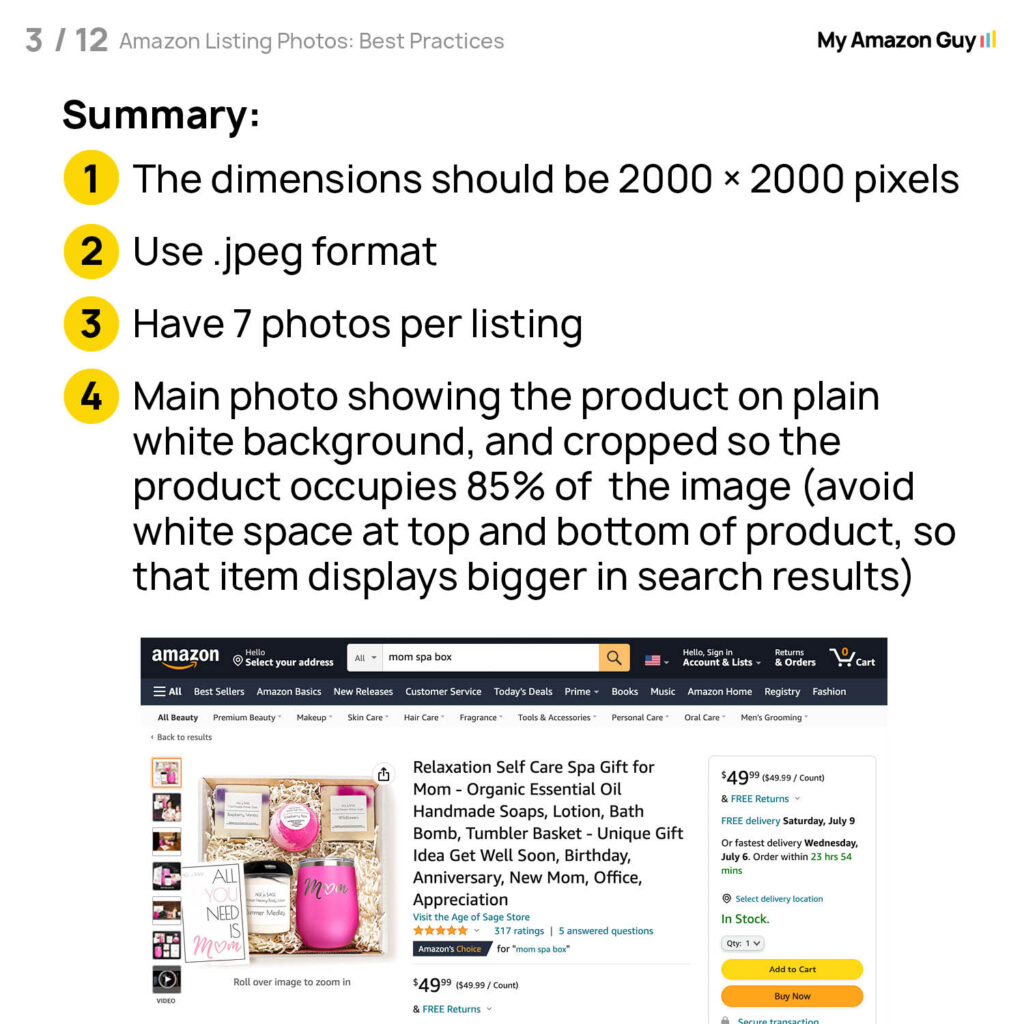
- The product should fill at least 85% of the image for clarity and visibility.
Additional Image Guidelines
- You can upload up to eight (8) additional images to showcase different angles, product details, or lifestyle shots.
- While a white background is recommended, it’s not mandatory for secondary images.
- No misleading props or accessories that might confuse the customer.
Image Size Requirements
- Minimum: At least 1000 x 1000 pixels to enable Amazon’s zoom function.
- Recommended: 2000 pixels or more on the longest side for the best display quality.
- Images under 500 pixels on the longest side will be rejected.
Accepted File Formats
- Amazon supports JPEG (.jpg), TIFF (.tif), GIF (.gif), and PNG (.png) files.
- JPEG is preferred due to its smaller file size and faster processing.
Naming and Formatting Rules
- The image file name must use the product identifier (ASIN, ISBN, UPC, etc.), followed by a period and the file extension. Example:
- B000123456.jpg
- 0237425673485.tif
- Spaces, dashes, or extra characters in the file name can prevent the image from being accepted.
Amazon Listing Photos: 10 Best Practices
Optimizing your product images on Amazon goes beyond just following the platform’s requirements. To truly stand out and maximize conversions, you need to apply best practices that enhance your product’s visibility and appeal.
Here are ten essential tips to help you make the most of your Amazon listing images:
1. Use a Pure White Background for Main Images
Amazon requires main images to have a pure white background. This helps maintain a clean and professional look while ensuring your product stands out in search results.
Want to know more tips on how to properly optimize your main images to get better CTR? Check out our video guides below.
2. Ensure High-Resolution Images
Your images should be at least 2000 x 2000 pixels to enable Amazon’s zoom function, which improves customer confidence by allowing them to examine details closely. Smaller images may be rejected or fail to engage shoppers effectively.
3. Display the Product Clearly While Enhancing Customer Understanding
Your main image should focus entirely on the product you’re selling—no unnecessary logos, watermarks, or extra accessories that aren’t included. However, beyond strict compliance, your image should also help customers quickly understand the product’s purpose and key benefits.
- Show the product in use or in context when possible. For example, a butcher paper roll displayed with sliced brisket helps customers visualize its intended use.
- Highlight key details that matter to buyers, such as pack size (“360 count”) or included accessories (“Microfiber towel included”).
- Use visual cues strategically. Elements like an American flag can suggest “Made in USA” without needing additional text.
- Text overlays should be clear and readable if used at all—illegible or cluttered designs can hurt conversions.
While Amazon has strict guidelines, many top brands incorporate subtle enhancements that improve clarity and customer appeal. Focus on helping the buyer make an informed decision, even if that means carefully balancing compliance with effective presentation.
4. Avoid Banned Words and Claims
Avoid using prohibited terms like “Best Seller,” “Eco-Friendly,” or “Guaranteed.” Amazon restricts exaggerated or unverifiable claims, and violating these rules could lead to listing suppression.
5. Highlight Product Features
Use infographics and before-and-after photos in secondary images to clearly demonstrate key product benefits. Simple callouts, comparison charts, and customer avatar-focused visuals can help shoppers quickly understand what sets your product apart and how it fits their needs.
6. Incorporate Lifestyle Images
Lifestyle images show the product in real-life scenarios, helping shoppers visualize how they would use it. This builds an emotional connection and can lead to higher conversions.
7. Do Not Use AI-Generated Images
AI-generated images may look unnatural and can make your product appear lower quality. Stick to high-quality, real photos to maintain credibility and build customer trust.
8. Maintain a Consistent Style Across Your Image Stack
Ensure all images maintain the same quality, lighting, and branding. A cohesive visual presentation makes your listing look more professional and trustworthy.
9. Optimize Image for Mobile
Use vertically oriented images to take up more screen space on mobile, making your product appear larger and more prominent. This improves visibility, increases CTR, and gives you an edge over competitors.
10. Test and Optimize Your Images Over Time
Use A/B testing to determine which images perform best. Regularly updating and refining your listing images based on customer feedback and performance data can help improve conversions.
Additional Tips for Optimizing Your Amazon Product Listing Images


Win Sales with Winning Images
Your listing images are the first thing shoppers notice, and they play a crucial role in convincing them to buy your product. That’s why image optimization is a necessary part of listing optimization and one of the most important steps in increasing conversions.
A well-optimized image stack can make a huge difference in your product’s visibility, engagement, and sales. By following the best practices outlined in this guide, we hope you can create compelling images that not only meet Amazon’s requirements but also drive more clicks and purchases.
Still not confident in your image listing optimization skills? Contact our full-service Amazon agency today and get high-quality graphics, 5-star service, and lightning-fast results!